How To Edit WooCommerce Login Page without Coding
So if you you using WooCommerce than you would have been thinking about that boring WordPress login and Registration page. Yes, that page is literally boring and that makes your ecommerce websites looks non professional.
So In this tutorial, I will show you how to easily design and create login and registration pages that works with eCommerce and the normal WordPress. The login and registration page that we are going to create is by using Elementor ( FREE ) and a Paid Plugin ($19).
Yes, its that cheap. Cheaper than hiring a WordPress Developer on Fiverr.
To create or edit a WooCommerce login page or Registration page, Install Elementor and JetBlocks plugin. Then Create a new page called “login” and editing with Elementor. Create and design a new page for your login and then drag and drop the login widget from jetBlocks to the area where you want to put the login form. Save the page and Preview it in an Incognito window. Yes, you must be logged out to see that login page. Now install another plugin called ” Visibility Control for Elementor” and then hide the entire page for the logged-in user and show a custom message.
So, let’s get started with the Step-By-Step tutorial.
If you are using WooCommerce, then check our Complete guide to WooCommerce From Beginners to Advance.
Disclosure: I may receive affiliate compensation for some of the links below at no cost to you if you decide to purchase a paid plan. You can read our affiliate disclosure in our privacy policy.
What are The Plugins Required????
So to create a login or registration page without writing a single line of code is by using 2 plugins. The first plugin is a free plugin and the second plugin is a paid plugin.
The reason I choose this 2 plugins is that both are light and works perfectly and doesn’t slows down your website or has any loop holes.
So the list of Plugins are:-
Using Elementor, we are going to design the pages for login and registration. Elementor is the #1 Drag and Drop page builder plugin and using it, you can design any page that you can think or imagine.
Yes, this is the plugin that allows you to create any design without coding.
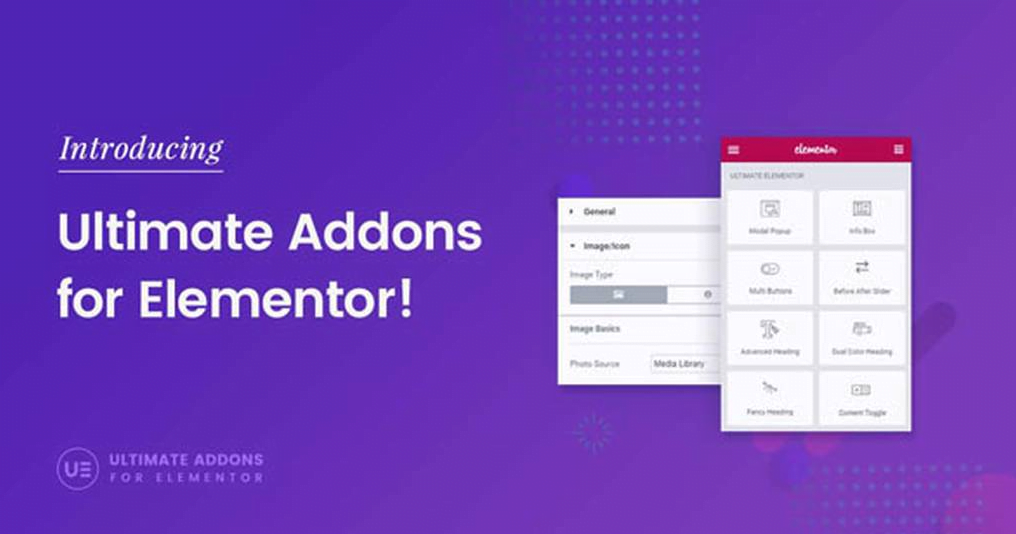
The second plugin is Ultimate Addon For Elementor and this plugin allows you to add the login and registration codes using elementor. Don’t worry you don’t need to write any code. You just need to drag and drop the login widget or the registration page.
and that’s how you will create and edit your WooCommerce Login Page or Registration page easily without coding.
[presto_player id=11198]
Installing Elementor
To install Elementor, You have to login to your WordPress Admin section. Go to
WP-Admin -> Plugins -> Add New -> Search -> Elementor.
Click on Install and then Click on Activate button.
That’s it. Elementor is installed and ready to be used to create your login and Registration page.
Installing Ultimate Addons for Elementor
The first step is to purchase the Ultimate Addon For Elementor.
To purchase Ultimate Addon For Elementor, Click here to visit the Website.
After Purchase it, You need to install it to your WordPress site. To install Ultimate Addon For Elementor, go to
WP-Admin -> plugins -> Add New -> Upload and select the .zip file of the plugin ( UAE ).
Then click on the “Install Now” button. After the plugin is installed, click on the Activate button and that will install the UAE. Now you need to activate the license.
You will get a license code from UAE on your email and also in your account on their website. Copy the license key and visit WP-Admin -> Plugins -> Ultimate Addons for Elementor -> Activate License.
Click on the Activate License, paste the license key and click the Activate button.
UAE is now activated and can be used to create a login / registration page.
How To Create a Login Page????
So I assume you that you have already both the plugin installed. So lets create the login page.
Go to WP-Admin -> Pages -> Add New and Create a New Page called ” Login “.
Publish the page.
Now Click on “edit with Elementor“.
The elementor page builder will load up and that will allow you to design the login page. Design the login page as per your liking.
Note: I will not cover how to design a page with Elementor, as I will focus on how to create login and registration page. Although I have videos on how to design pages with elementor.
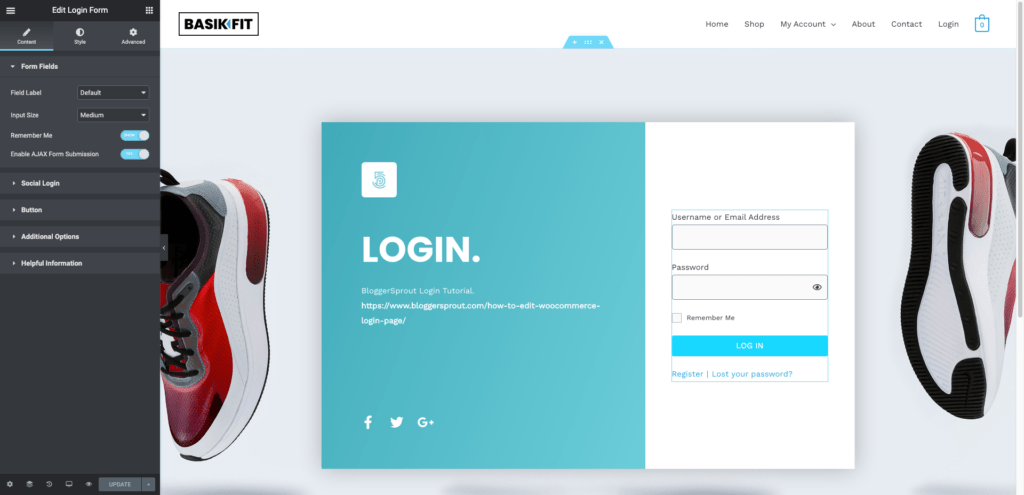
After you have designed the page, now you need to add the login widget to the page. Search for ” Login Form “.
Drag and drop the widget to the page.
After the widget is added, the widgets settings will open. You can change the text labels of the login widget and also change the design of the form using the style section of the login widget settigns.
Click on ” Update ” button.
The Login page is now live. Open the login page in an incognito window and the page is ready to be used as your default login page.
How To Create a Registration Page????
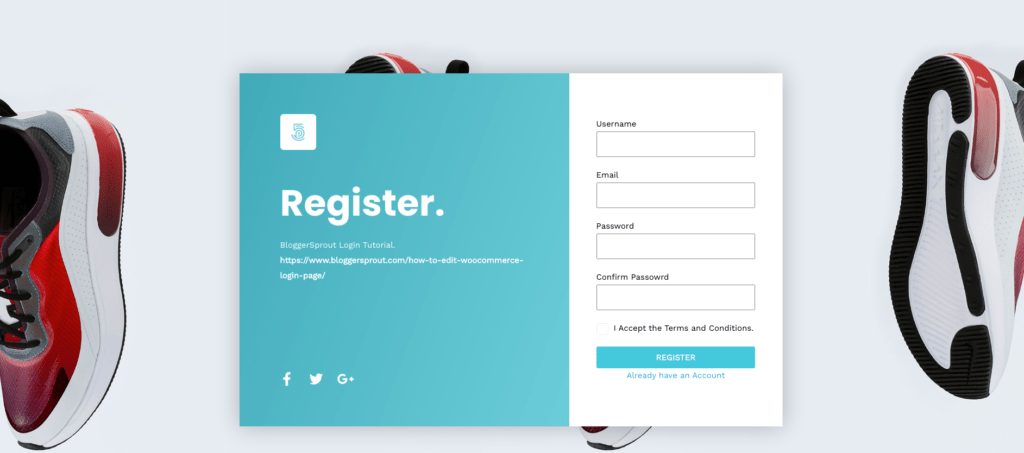
Creating a Registration page in WordPRess is pretty similar to creating a login page. We are going to use the same plugins and same method to create and design the registration pages.
Go to WP-Admin -> Pages -> Add New and Create a New Page and Name it ” Register ” or something similar. Click on publish button. After publishing the page, click on Edit with Elementor.
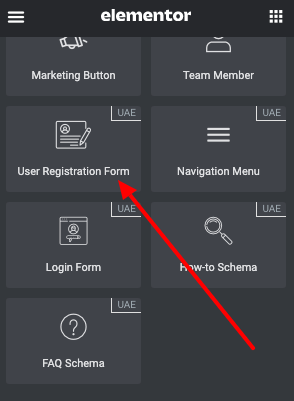
The elementor page builder will load up, then design the registration page as per your taste and preference. Now drag and drop the Registration Widget and place it where you want the registration form to appear.
Now Configure the Registration widget, Like the Redirect pages and the style of the form. You can configure and style it using the Elementor’s built in widget configurator.
After you are done, Click on Update Button.
Your Registration page is ready to be used by your visitors. Provide the link to Login and Register in your front end so that your visitors/customers can easily login or create an account from the new pages you just created.
How To Integrate with WooCommerce⚙️
Well by default WooCommerce registration uses WordPress builtin login and registration forms. So, all we need to do is to change the default user type from “subscribers” to “Customers”.
To change the settings, go to WP-Admin -> Settings -> General and search for ” New User Default Role “”. Change it from Subscriber to Customer and click on Save changes button.
The Next is to set the pages in the menu, so that the pages are accessible for the customers. Also, implement the WooCommerce create account feature during checkout.
Learn How to Change the Menu based on User Logged In or Logged out.
Conclusion????
By default WooCommerce uses the built in login form of WordPress. So its better not to make any changes to it. Creating a new page for the login or registration is always a better idea as the page uses the builtin WordPress login and registration forms and allows you to customize the design according to your taste.
This gives you the flexibility of a custom design which you can change whenever you like and don’t need to deal with any broken codes or forms not working.
I hope this article has helped you edit WooCommerce Login Page. If you have any queries, you can comment below or contact us. You can also subscribe to our YouTube and Like and Follow us on Facebook, Twitter and Instagram.