How To Edit Woocommerce Checkout Fields
WooCommerce is a widely used eCommerce plugin for WordPress and the best thing that make this plugin more popular is the reason that its totally customizable and allows you do almost anything that you want.
WooCommerce is a complete eCommerce solution built on WordPress, this plugin can the functionality to extends its features and ability with the addition of 3rd party plugins/addons.
In this article, we will learn How to edit WooCommerce Checkout fields and create a custom WooCommerce Checkout page and use it. This article is a part of The Complete WooCommerce Tutorials and Guide
WooCommerce has a deafult checkout page that ask for all the details of a customer like their name, email, phone and complete address….. Yes, COMPLETE ADDRESS.
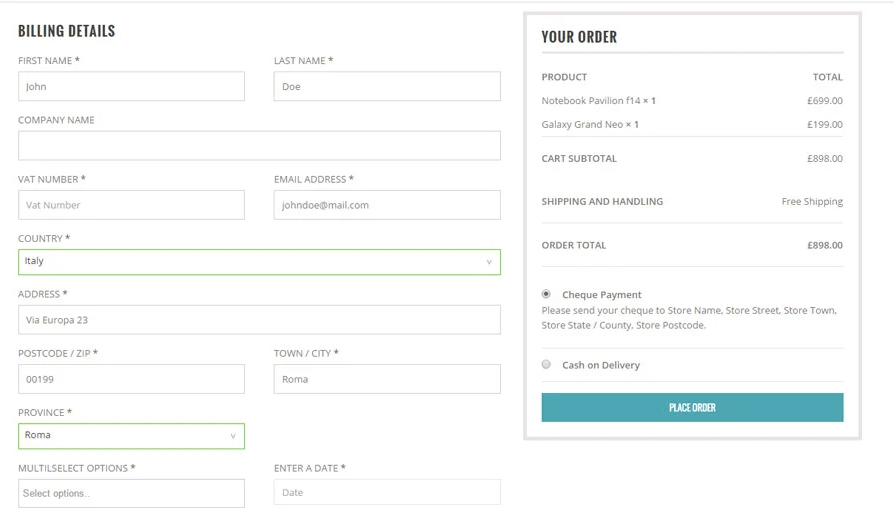
This is how a Normal / Default WooCommerce Checkout page looks like
[image goes here for the default woocommerce checkout page ]
Disclosure: I may receive affiliate compensation for some of the links below at no cost to you if you decide to purchase a paid plan. You can read our affiliate disclosure in our privacy policy.
Editing the Checkout Fields
WooCommerce allows 2 ways to edit the checkout fields.
- The easy way – using a 3rd party plugin
- The Hard Way – using hooks and PHP.
In this tutorial, we will be focusing on the easy way as the hard way is REALLY hard. The hard way allows you to do almost anything but for that you need to learn programming and how to hooks custom functions.
The Easy Way.
The plugins we will be using to edit the WooCommerce Checkout fileds by using the YITH WooCommerce Checkout Manager.
YITH WooCommerce Checkout Manager
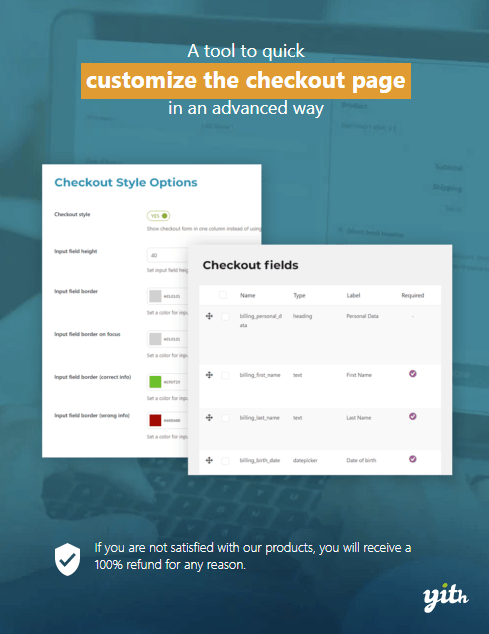
This is a wonderful plugin that saves you from the devil of codes. This plugin allows you to make an advanced and powerful custom checkout page for your site.
The plugin provides a easy user interface to enable and disable the default checkout fields and create new ones as per your needs.
You can create and add unlimited custom fields to your checkout page like:-
- Text Fields
- Text area
- Radio buttons
- Checkboxes
- Multiple selects
- and several other
The best part is that is has a drag and drop field designer that allows you to arrange the fields in an order that you want and also add labels and tooltips to it.
If your website is not in English and you are thinking how to customize the text, then don’t worry. This plugin supports WPML and it allows you to easily translate into any language you want.
Customizing Fields using YITH WooCommerce Checkout Manager
- Download the YITH Plugin – Click To Download
- Install the Plugin
- Setting the YITH WooCommerce Manager
- Customizing Fields
1. Download the YITH Plugin
The first step is to download the YITH WooCommerce Checkout Manager. The plugin is a paid plugin and can be purchased from YITH official Website.
Click here to download YITH WooCommerce Checkout Manager.
2. Install the Plugin
Once you have downloaded the plugin. You need to download it from your YITH account. Login to your YITH account and download the latest version of the plugin along with the license key.
Goto your WP-Admin > Plugins > Add New > Upload and upload the zip file of the plugin. Once the plugin is uploaded successfully, Activate the plugin.
The plugin will ask for the license key. Enter the license key that you have downloaded from the YITH website.
SAVE IT
3. Setting the YITH WooCommerce Manager
After you have installed and activated the plugin, you will find a new menu ” YITH” in your WP-Admin left sidebar, mostly below the settings.
Click on the YITH > WooCommerce Manager.
You will be redirected to settings tab.
The Settings tab allows you to enable or disable the JS validation of fields and tooltip. It also allows you to customize the look and feel of the checkout page by changing the checkout colors and the field heights.
Once you are happy with the colors and the settings. Click on Save Changes.
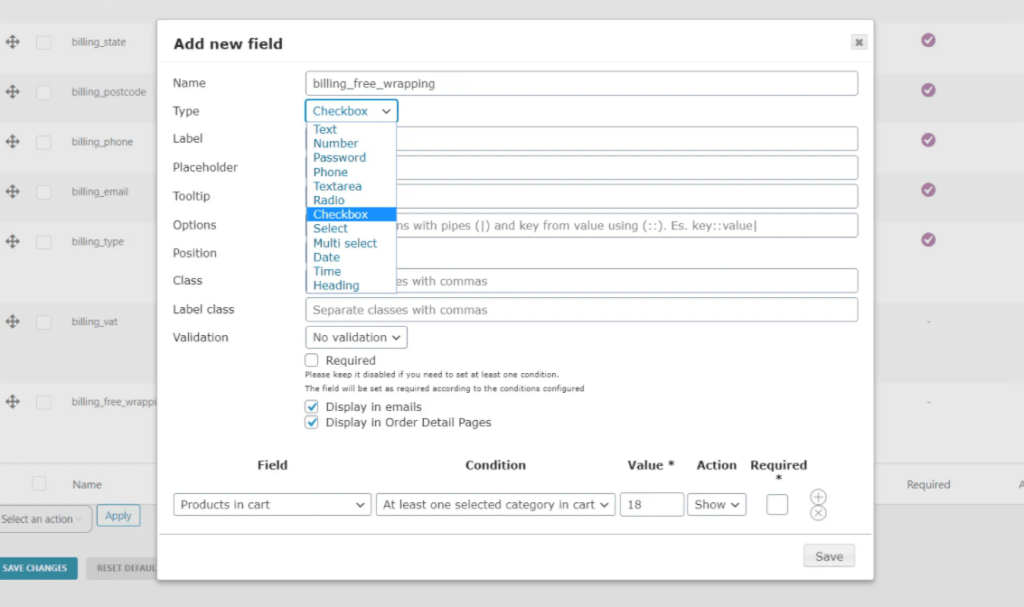
4. Customizing Fields
The next tab to Settings is the Customize Fields.
This tab allows you to control every aspect of the checkout fields. You can hide fields or add a new one. This tab has a drag and drop feature that allows anyone, even a non-techie to customize their checkout fields just dragging and dropping the fields where you want to place them.
Since the WooCommerce Checkout page has 3 different sections, the YITH plugins provides you 3 different tabs to customize the settings
- Billing Fields
- Shipping Fields
- Additional Fields
The Billing Fields include the First name, Last name, Email , Phone and Password fields. The Shipping Fields section include the Address, Addresss 2, Pincode / zip code, County, Country, State, City and landmark.
The additional fields section has the additional notes field and other fields based on your other plugins and themes settings.
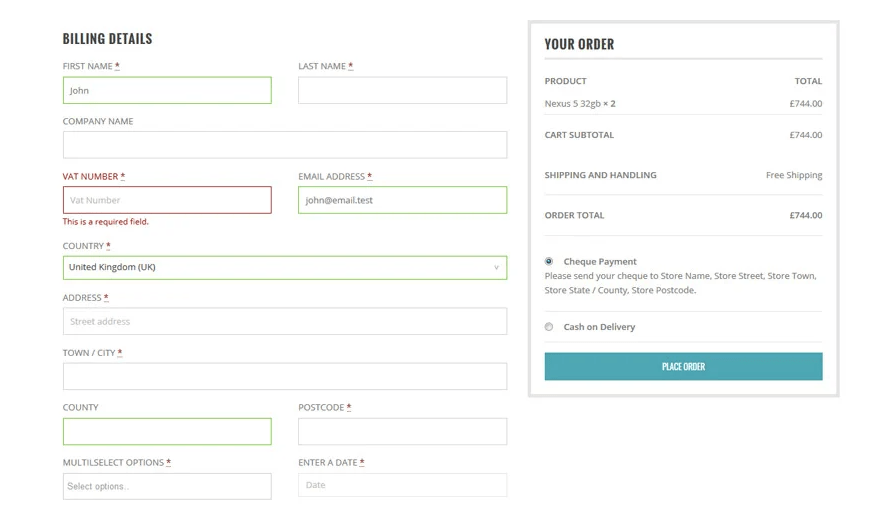
Click on Save Changes
Refresh your checkout page and see the difference.
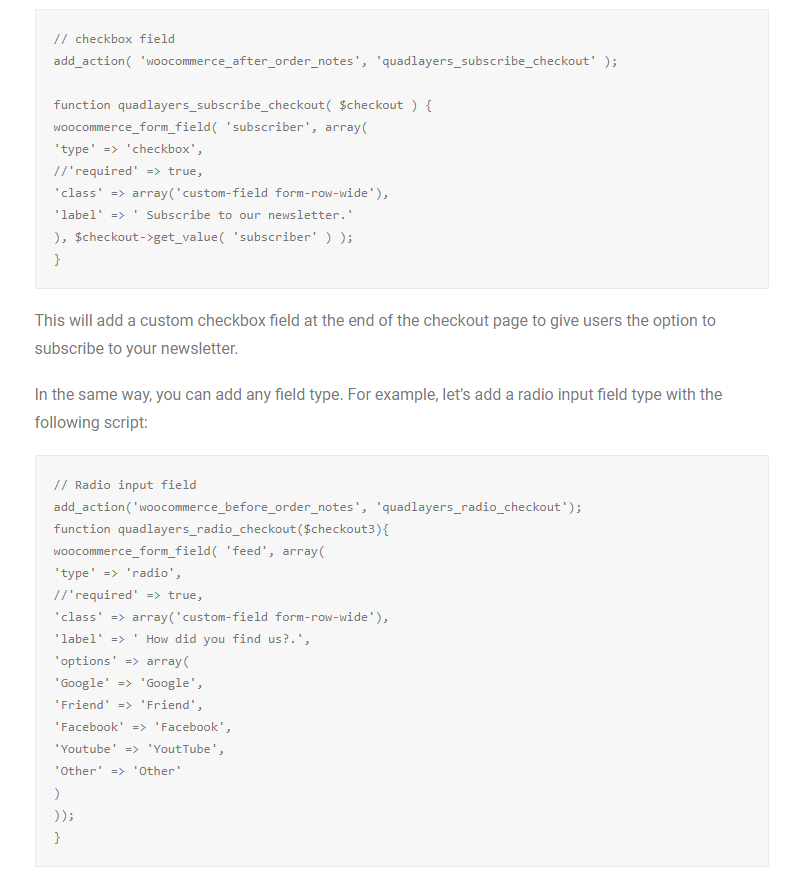
Conclusion
The YITH plugin allows you to easily customize the checkout fields using a drag and drop interface. If you want to know the hard way, here is an image of the codes you need to customize one field.
I hope this article has helped you to customize your checkout fields . If you have any queries, you can comment below or contact us. You can also subscribe to our YouTube and Like and Follow us on Facebook, Twitter and Instagram.


![Easily Create a Contact Form in WordPress [ Video Tutorial ]](https://bloggersprout.com/wp-content/uploads/2019/12/create-contact-form-wordpress-768x379.png)